


Heat Pump Installation in Goodyear, AZ
Choosing a professionally installed heat pump is one of the most effective ways to get reliable, year‑round comfort in Goodyear, AZ. With long, hot summers, intense dust and monsoon storms, and mild winters, the right heat pump system delivers efficient cooling in summer and economical heating in winter while reducing energy bills and simplifying maintenance compared with older separate furnace and AC setups.
Why a heat pump makes sense for Goodyear homes
- Goodyear’s climate puts primary load on cooling. Modern air‑source and ductless mini‑split heat pumps with inverter compressors deliver very high cooling efficiency (high SEER) and stable performance under desert heat.
- Dust, pollen and monsoon moisture affect outdoor coils and condensate lines. Proper installation reduces exposure, improves filtration, and prevents premature failures.
- Many homes in Goodyear can reduce complexity and energy use by converting an aging AC or adding ductless zones for remodels or room additions.
Common heat pump options and how to choose
- Air‑source heat pumps (split systems): Best for homes with existing ductwork. Look for variable‑speed inverter compressors, high SEER for cooling, and efficient HSPF for heating. In Goodyear, prioritize cooling efficiency and matched indoor coil sizing to handle dust loads.
- Ductless mini‑splits: Ideal for homes without ducts, garages, casitas, or additions. Mini‑splits provide zone control and minimize installation disruption. Line‑set runs are shorter in compact Goodyear yards, which reduces installation cost and heat loss.
- Single‑phase vs three‑phase: Most single‑family homes use single‑phase. Larger homes or multi‑unit properties may need three‑phase equipment and electrical upgrades.
- Sizing considerations: Proper sizing protects comfort and efficiency. Oversized systems short cycle, increasing wear and humidity problems; undersized units struggle on peak summer days. Load calculations factor in Goodyear solar exposure, attic insulation, window orientation, and local shading.
Pre‑install consultation and site assessment
A thorough pre‑install assessment covers:
- Load calculation (Manual J style) to determine correct capacity for your home and zones.
- Duct evaluation if using an air‑source system: duct leakage, insulation level, register balancing, and return locations.
- Electrical evaluation: breaker capacity, disconnect availability, and any needed panel upgrades or dedicated circuits.
- Outdoor unit siting: adequate clearance, shade, elevation for monsoon runoff, and separation from dust sources and landscaping.
- Indoor unit placement for mini‑splits: optimal wall or ceiling locations for airflow and aesthetics, plus shortest practical line‑set runs.
- Permitting and local code: review of Goodyear/Maricopa County permit requirements, efficiency standards, and required inspections.
Precision installation steps
A professional installation follows a clear, documented sequence to protect efficiency and warranty:
Site preparation
- Install a level, vibration‑isolated pad or bracket for the outdoor unit. Elevate when required to avoid debris and temporary monsoon pooling.
- Protect outdoor coil from prevailing dust using proper clearances and landscape planning.
Equipment delivery and staging
- Verify model numbers and matching indoor/outdoor components. Inspect for shipping damage.
- Lay out tools and materials: insulated copper line‑sets, drain lines, electrical wiring, refrigerant fittings, and mounting hardware.
Ductwork or line‑set installation
- For ducted systems: repair or modify ductwork, seal all seams with mastic, and add insulation as needed. Ensure proper return air sizing.
- For ductless systems: run refrigerant line‑sets, electrical conduit, and condensate lines through minimal penetrations. Use insulated line covers and UV‑resistant protective sleeves in exposed areas.
Refrigerant handling and connections
- Evacuate lines and charge to manufacturer specifications. For long line runs common in larger Goodyear lots, adjust charge per the unit’s guidelines and measure superheat/subcooling.
- Leak test all joints and brazes before finalizing.
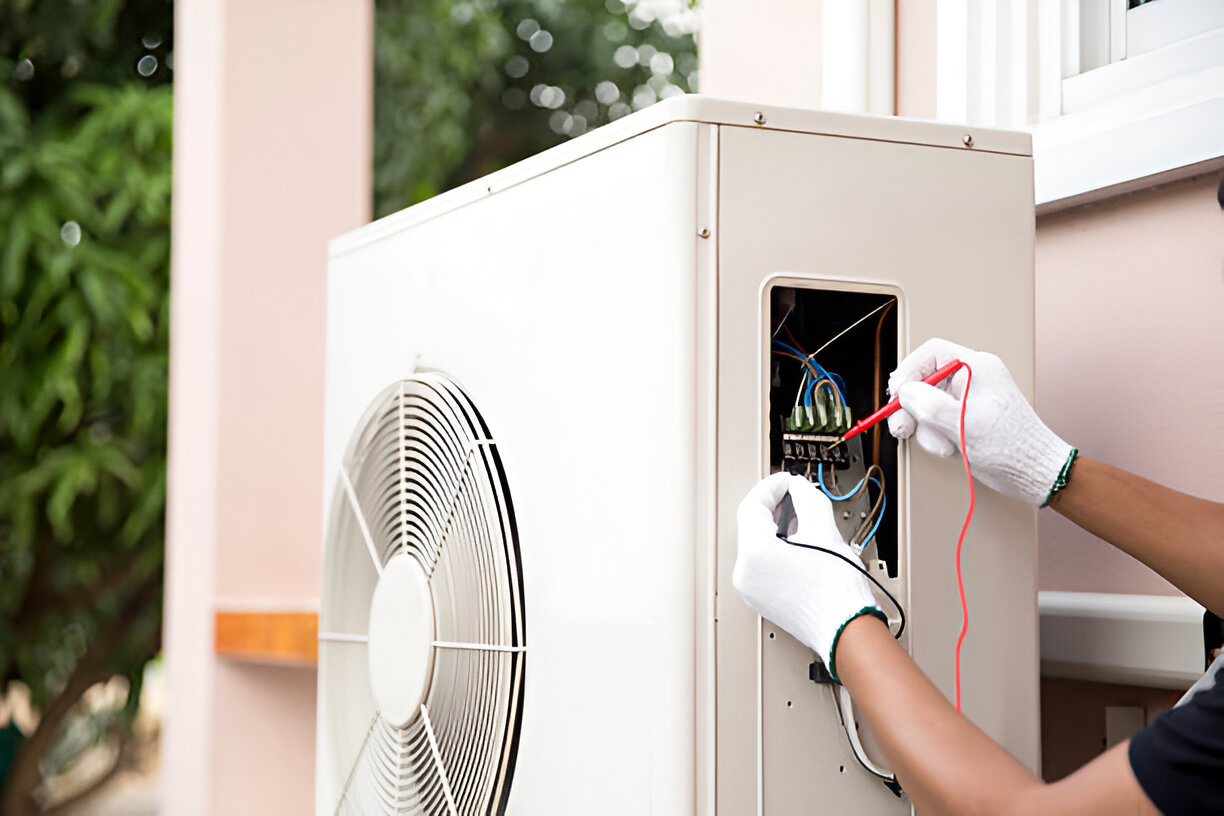
Electrical and controls
- Install disconnects, breakers, and surge protection as required. Program multi‑stage or variable‑speed thermostats and configure communication wiring for zoning systems.
- Integrate smart thermostat or WiFi controls if desired for remote monitoring and energy tracking.
Drainage and condensation protection
- Slope condensate lines properly and install accessible traps. Provide insulation on lines to prevent drip and mold risk during high humidity monsoon periods.
- Final mechanical mounting and sealing
- Secure indoor air handlers or wall cassettes, seal all wall or roof penetrations, and protect line‑set entries against dust and insects.
Commissioning, testing, and homeowner orientation
Commissioning confirms the system is performing to spec and ensures warranty activation:
- Measure airflow, static pressure, and superheat/subcooling to verify correct refrigerant charge and airflow balance.
- Test electrical load and confirm safe, code‑compliant wiring and proper breaker/fuse sizing.
- Perform leak detection and pressure tests on refrigerant circuits.
- Verify thermostat calibration, zone controls, defrost operation, and quiet operation within manufacturer sound levels.
- Review seasonal performance expectations in Goodyear: how defrost cycles work in low winter loads, and how variable‑speed compressors modulate during extreme summer highs.
- Homeowner orientation includes showing how to use thermostats, zoning, filter maintenance, basic troubleshooting, and the location of shutoffs and access panels.
- Manufacturer warranty registration: collect serial numbers and install dates, complete online or paper registration as required to validate parts and labor warranty terms.
Long‑term performance and maintenance tips
- Replace or clean filters monthly during high use and seasonal pollen spikes. Use higher MERV filters only if duct and blower are rated for them.
- Schedule professional tuneups before peak cooling season to check refrigerant, electrical connections, and condensate drainage.
- Keep condenser coils free of dust and debris; in Goodyear, frequent brushings or annual coil cleanings reduce strain on the compressor.
- Address duct leaks and insulation gaps; sealed ducts improve efficiency and indoor comfort in desert climates.
- Consider adding a whole‑house dehumidifier or ventilation strategy if remodeling tightens the home envelope and increases indoor humidity the system must manage.
Heat pump installation in Goodyear, AZ, requires attention to desert challenges like intense cooling demand, dust exposure, and monsoon moisture. A properly sized, professionally installed system—whether air‑source or ductless mini‑split—delivers dependable comfort, better efficiency, and long service life when installed with careful site assessment, precise refrigeration practices, and thorough commissioning and warranty registration.
Financing
_11zon%20(1).webp)


Customer Testimonials
