


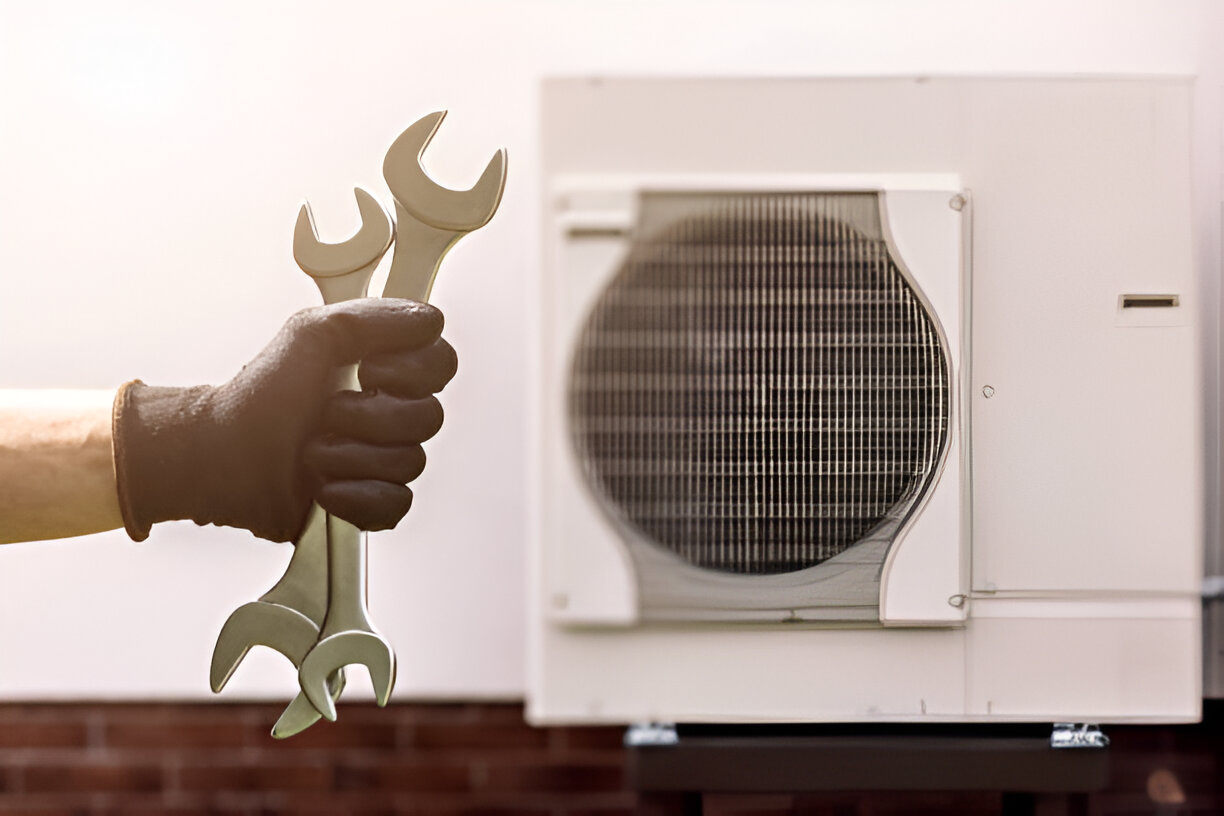


Heat Pump Installation in Queen Creek, AZ
Heat pump installation in Queen Creek, AZ provides year-round comfort in a climate with long, hot summers and mild winters. A properly selected and installed heat pump delivers efficient cooling and reliable heating while lowering energy costs compared with older systems.
Why a heat pump makes sense for Queen Creek homes
- Queen Creek’s climate favors heat pumps: hot, dry summers and typically mild winters allow heat pumps to operate efficiently for both cooling and heating.
- Many local homes benefit from a single, reversible system instead of separate AC and furnace equipment, simplifying maintenance and reducing footprint.
- Proper equipment sizing and installation protect performance during peak summer heat and dustier monsoon months common to the region.
Common heat pump installation scenarios in Queen Creek
- Replacing an aging central AC and gas furnace with a single heat pump system.
- Upgrading an inefficient air conditioner to a high-efficiency heat pump for lower operating costs.
- Installing ductless mini-split heat pumps for additions, garages, or rooms without existing ductwork.
- Retrofits where ductwork needs repair or reconfiguration to meet airflow requirements.
Typical installation process
A professional heat pump installation follows a structured, documented workflow to ensure reliable performance and code compliance.
Consultation and system selection
- Discuss comfort needs, budget, utility usage, and any existing equipment constraints.
- Review manufacturer options such as Day & Night and other recommended brands based on efficiency, warranty, and local serviceability.
- Compare SEER/HSPF and capacity ranges to match performance goals and Queen Creek climate demands.
Site assessment and equipment sizing
- Perform a Manual J load calculation to size the heat pump accurately for your home, taking into account insulation, windows, orientation, and occupancy.
- Inspect ductwork, attic access, existing line sets, electrical panel capacity, and condenser pad location to identify necessary upgrades.
- Evaluate whether zoning or multi-stage equipment will help balance comfort across the home.
Permit handling and code compliance
- Prepare and submit required permit applications to the Town of Queen Creek or appropriate local jurisdiction.
- Ensure installation meets state and local codes, including refrigerant handling, electrical work, ventilation, and mechanical clearances.
- Coordinate required inspections so the system is approved and documented.
Ductwork or line-set preparation
- Repair or seal ducts to reduce leaks and ensure proper airflow if a central system will be used.
- Install or replace refrigerant line sets and properly insulate them for high-temperature performance.
- Prepare a level, code-compliant condenser pad and ensure the outdoor unit has adequate clearance and airflow, including consideration of shading and prevailing winds in Queen Creek.
Professional installation steps
- Install indoor and outdoor units per manufacturer specifications, mounting the air handler or indoor coil securely and sealing all connections.
- Make electrical connections using appropriate breakers and disconnects; confirm the electrical service can handle the new unit’s load.
- Evacuate and charge the refrigerant loop to the exact charge required; improper charge is a leading cause of reduced efficiency and premature failure.
Commissioning and performance testing
- Verify proper refrigerant charge, airflow, and thermostat operation.
- Measure static pressures, superheat/subcooling, and temperature splits to confirm the system meets manufacturer performance targets.
- Balance system airflow, calibrate thermostats or zoning controls, and demonstrate operation in both heating and cooling modes.
Documentation, warranty registration, and handoff
- Complete permit sign-offs and provide all inspection paperwork.
- Register the manufacturer warranty to activate coverage and explain warranty terms for parts and labor.
- Provide owners with system documentation, recommended maintenance schedule, and energy-saving thermostat settings.
Common installation issues and how installers address them
- Undersized or oversized equipment: avoided by performing accurate load calculations rather than rule-of-thumb sizing.
- Inadequate airflow: corrected by duct repairs, blower adjustments, or duct resizing when necessary.
- Improper refrigerant charge: addressed during commissioning with precise measurement tools.
- Poor outdoor unit placement: prevented by planning for adequate clearance, shade, and debris clearance to minimize stress during extreme heat and monsoon winds.
- Dust and pollen buildup: mitigated by recommending proper filtration upgrades and accessible return grille locations.
Post-installation support and maintenance
- First-season follow-up checks ensure the system performs under Queen Creek’s hottest conditions. Technicians re-check refrigerant, airflow, and controls.
- Annual maintenance includes coil cleaning, filter checks, refrigerant leak inspection, and electrical safety testing to extend equipment life and preserve efficiency.
- Consider scheduling a pre-summer tune-up to prepare for peak demand and a pre-monsoon check to protect against dust and debris problems.
Manufacturer options and warranty considerations
- Day & Night is frequently recommended for its proven reliability and dealer support; other reputable manufacturers include Carrier, Trane, Lennox, and Mitsubishi for ductless applications.
- Warranty registration is handled as part of the installation process to ensure manufacturer coverage for parts and, where applicable, labor or extended warranties.
Benefits you’ll see after a professional installation
- Year-round comfort with efficient heating and cooling from one system.
- Lower energy consumption during mild winters and efficient cooling through summer with correct sizing and commissioning.
- Reduced carbon footprint and modern refrigerants with lower environmental impact.
- Improved indoor comfort through consistent airflow, better humidity control, and cleaner filtration options.
Maintenance tips for Queen Creek homeowners
- Replace or clean filters every 1 to 3 months during heavy use.
- Keep outdoor condenser area clear of debris, gravel, and landscaping to maintain airflow.
- Schedule annual professional maintenance, ideally before peak summer.
- Check thermostat settings and programmable schedules to avoid unnecessary run time during empty-house periods.
A heat pump installed correctly provides dependable comfort and strong efficiency—especially suited to Queen Creek’s climate. Accurate sizing, proper duct or line-set preparation, careful commissioning, and ongoing maintenance are the keys to long-term performance and satisfaction with your new system.
Financing
_11zon%20(1).webp)


Customer Testimonials
