


Heat Pump Installation in Maricopa, AZ
Heat pump installation in Maricopa, AZ is a smart, long-term choice for homeowners who need reliable cooling through scorching summers and efficient heating during mild winters. A properly installed heat pump delivers year-round comfort, lowers energy use compared with older heating systems, and fits well with the desert climate where cooling efficiency and humidity control matter. Below is a detailed, practical guide to the installation process, common issues specific to Maricopa homes, and what to expect from start to finish.
Why Maricopa homeowners choose heat pumps
- Year-round performance: One system provides both cooling and heating, which suits Maricopa’s hot days and cool winter nights.
- Energy efficiency: Modern heat pumps offer high efficiency ratings that reduce electricity use during long cooling seasons.
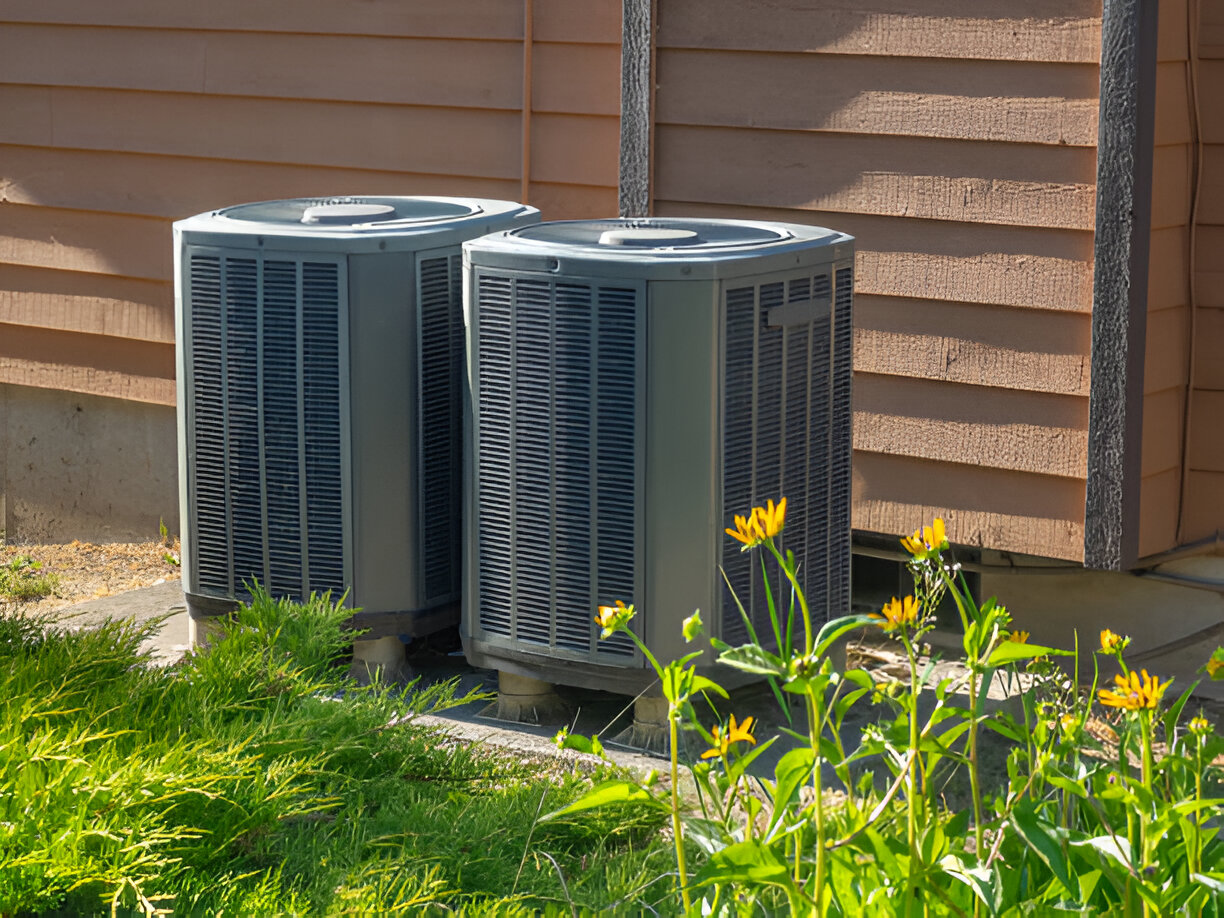
- Flexible options: Traditional ducted split systems or ductless mini-splits work for new homes or retrofits and additions.
- Comfort control: Zoned and variable-speed systems keep indoor temperatures steady and reduce hot or cold spots.
Common heat pump installation issues in Maricopa, AZ
- Undersized systems that struggle during peak summer heat, causing short cycling and less comfort.
- Poorly sealed or undersized ductwork that reduces airflow and efficiency in older homes.
- Inadequate electrical capacity or outdated panels that need upgrading for modern units.
- Improperly pitched condensate drains leading to backups in humid months.
- Incorrect refrigerant charge or poor line set installation causing decreased performance.
Initial consultation and site assessment
A thorough first visit makes the installation go smoothly. Expect an on-site evaluation that includes:
- A load calculation (often referred to as a Manual J) to determine the correct heat pump size based on square footage, insulation, window orientation, and occupancy.
- Duct inspection to check for leaks, sizing issues, and whether sealing or modifications are needed.
- Electrical review to confirm the panel, breaker, and wiring match the new unit’s requirements.
- Placement assessment for the outdoor unit to ensure airflow, sun exposure, and local code compliance.
- Discussion of zoning needs, thermostat preferences, and whether a ductless option is a better fit for certain rooms.
Equipment selection and sizing
Choosing the right equipment is more than picking a brand. Key considerations:
- Efficiency ratings: SEER (cooling) and HSPF/EER (heating/efficiency) tell you how the system performs in Maricopa’s climate; higher ratings typically mean lower operating costs.
- Capacity: Correct tonnage prevents short cycling and maintains comfort during peak heat.
- Compressor type: Single-stage, two-stage, or variable-speed compressors affect comfort, noise, and efficiency. Variable-speed units provide the smoothest temperature control.
- Matched components: Indoor coil, outdoor unit, and controls should be matched for warranty and peak performance.
- Accessories: Zoned dampers, high-efficiency air filters, UV coil purifiers, and smart thermostats can improve indoor air quality and system performance.
Ductwork vs ductless considerations
- Ducted systems: Best for homes with existing, well-sized ductwork. Proper sealing and insulation are critical to keep efficiency high in cooling-dominant climates.
- Ductless mini-splits: Ideal for homes without ducts, room additions, garages converted to living space, or where targeted conditioning is preferred. They offer high efficiency and easy zoning.
- Hybrid approaches: Some Maricopa homes benefit from a primary ducted system supplemented with mini-splits in problem rooms.
Professional installation steps
A professional installation typically follows a consistent process:
- Site preparation and removal of old equipment if applicable.
- Installation of the outdoor pad and secure placement of the condenser.
- Indoor unit installation - air handler, evaporator coil, or wall-mounted indoor head for mini-splits.
- Routing and insulation of refrigerant lines and condensate drains.
- Electrical hookups, breaker installation as needed, and grounding.
- Refrigerant evacuation (deep vacuum) and proper charging to manufacturer specs.
- Duct connections, sealing, and insulation where required.
- System startup and diagnostic testing to verify operational parameters.
System startup and performance testing
After installation, thorough testing confirms the system meets expectations:
- Verify refrigerant pressures and temperatures match manufacturer specifications.
- Measure airflow and static pressure to ensure adequate distribution.
- Test electrical draw, startup currents, and safety controls.
- Leak checks on brazed joints and line sets.
- Confirm thermostat programming and zone controls function correctly.
- Run the system in both cooling and heating modes when possible to validate performance.
Homeowner orientation: controls and routine maintenance
A good installer will walk you through system operation and basic maintenance:
- Thermostat orientation: how to use schedules, setpoints, and vacation modes.
- Filter care: where filters are located and the recommended replacement interval.
- Condensate management: how to check and clear drain lines and secondary drain pan drains.
- Seasonal tips: pre-summer checks, checking outdoor unit clearance, and keeping coils clean.
- Service expectations: annual tune-ups to preserve efficiency, extend equipment life, and maintain warranty coverage.
Efficiency and indoor comfort benefits in Maricopa
- Consistent temperatures and improved humidity control during long cooling seasons.
- Reduced energy use over older heating systems and many conventional AC units, especially with high-SEER and variable-speed models.
- Quieter operation and better dehumidification for increased indoor comfort.
- Compatibility with smart thermostats and home energy strategies for additional savings.
Typical timeline for a Maricopa install
- Consultation and assessment: usually scheduled within days of request.
- Permitting and material procurement: may take several days to a couple of weeks depending on local permit timelines.
- Installation: standard single-zone split systems commonly take one to two days; whole-home or multi-zone installs may take two to four days.
- Final testing and homeowner orientation: completed at the end of the install day to ensure you leave with a fully operational system.
What to expect after installation and maintenance tips
Expect an immediate improvement in comfort when the system is correctly sized and installed. Maintain performance with seasonal checkups, timely filter replacements, and keeping outdoor unit clear of debris and shade obstructions. Regular maintenance protects your investment and helps sustain efficiency through Maricopa’s extreme seasonal demands.
Heat pump installation in Maricopa, AZ is a practical upgrade for homeowners focused on efficiency, year-round comfort, and long-term reliability. With the right sizing, professional installation, and routine care, a heat pump will deliver consistent comfort through the desert seasons while managing energy use effectively.
Financing
_11zon%20(1).webp)


Customer Testimonials
